What is SheetKit?
SheetKit is an extension library for SwiftUI modal views. It provides several convenient methods for presenting and dismissing modal views, as well as a few View Extensions for modal views.
The main reasons for developing SheetKit are:
-
Facilitating Deep Link Calls
SwiftUI offers the
onOpenURLmethod, allowing apps to easily respond to Deep Links. However, in practice, things don’t always go as expected. This is mainly because important SwiftUI view presentation modes like NavigationView and Sheet lack quick and easy reset capabilities. It’s hard to set the app to the desired view state with just a couple of lines of code. -
Central Management of Modal Views
SwiftUI typically uses
.sheetto create modal views. This approach is very intuitive for simple applications, but it can become chaotic and disorganized for more complex apps with numerous modal views. In such cases, it’s common to manage all modal views centrally for unified calling. For more information, refer to my previous article - Pop up different Sheets in SwiftUI as needed. -
New Half-Height Modal View
At WWDC 2021, Apple introduced the much-anticipated half-height modal view. Perhaps because it was introduced in haste, this popular interaction mode did not come with a SwiftUI version and only supported UIKit. SheetKit temporarily fills this gap. Whether it’s a sheet, fullScreenCover, or bottomSheet (half-height modal view), all are fully supported and managed uniformly.
System Requirements
- iOS 15
- Swift 5.5
- XCode 13.0 +
By stripping out modal view support, SheetKit can also support iOS 14.
Installation
SheetKit supports installation via SPM.
Each feature in SheetKit is concentrated in one or two files. If you only need some of the features, adding the corresponding files directly to your project might be a good choice.
Detailed Features of SheetKit
present
SheetKit Invocation
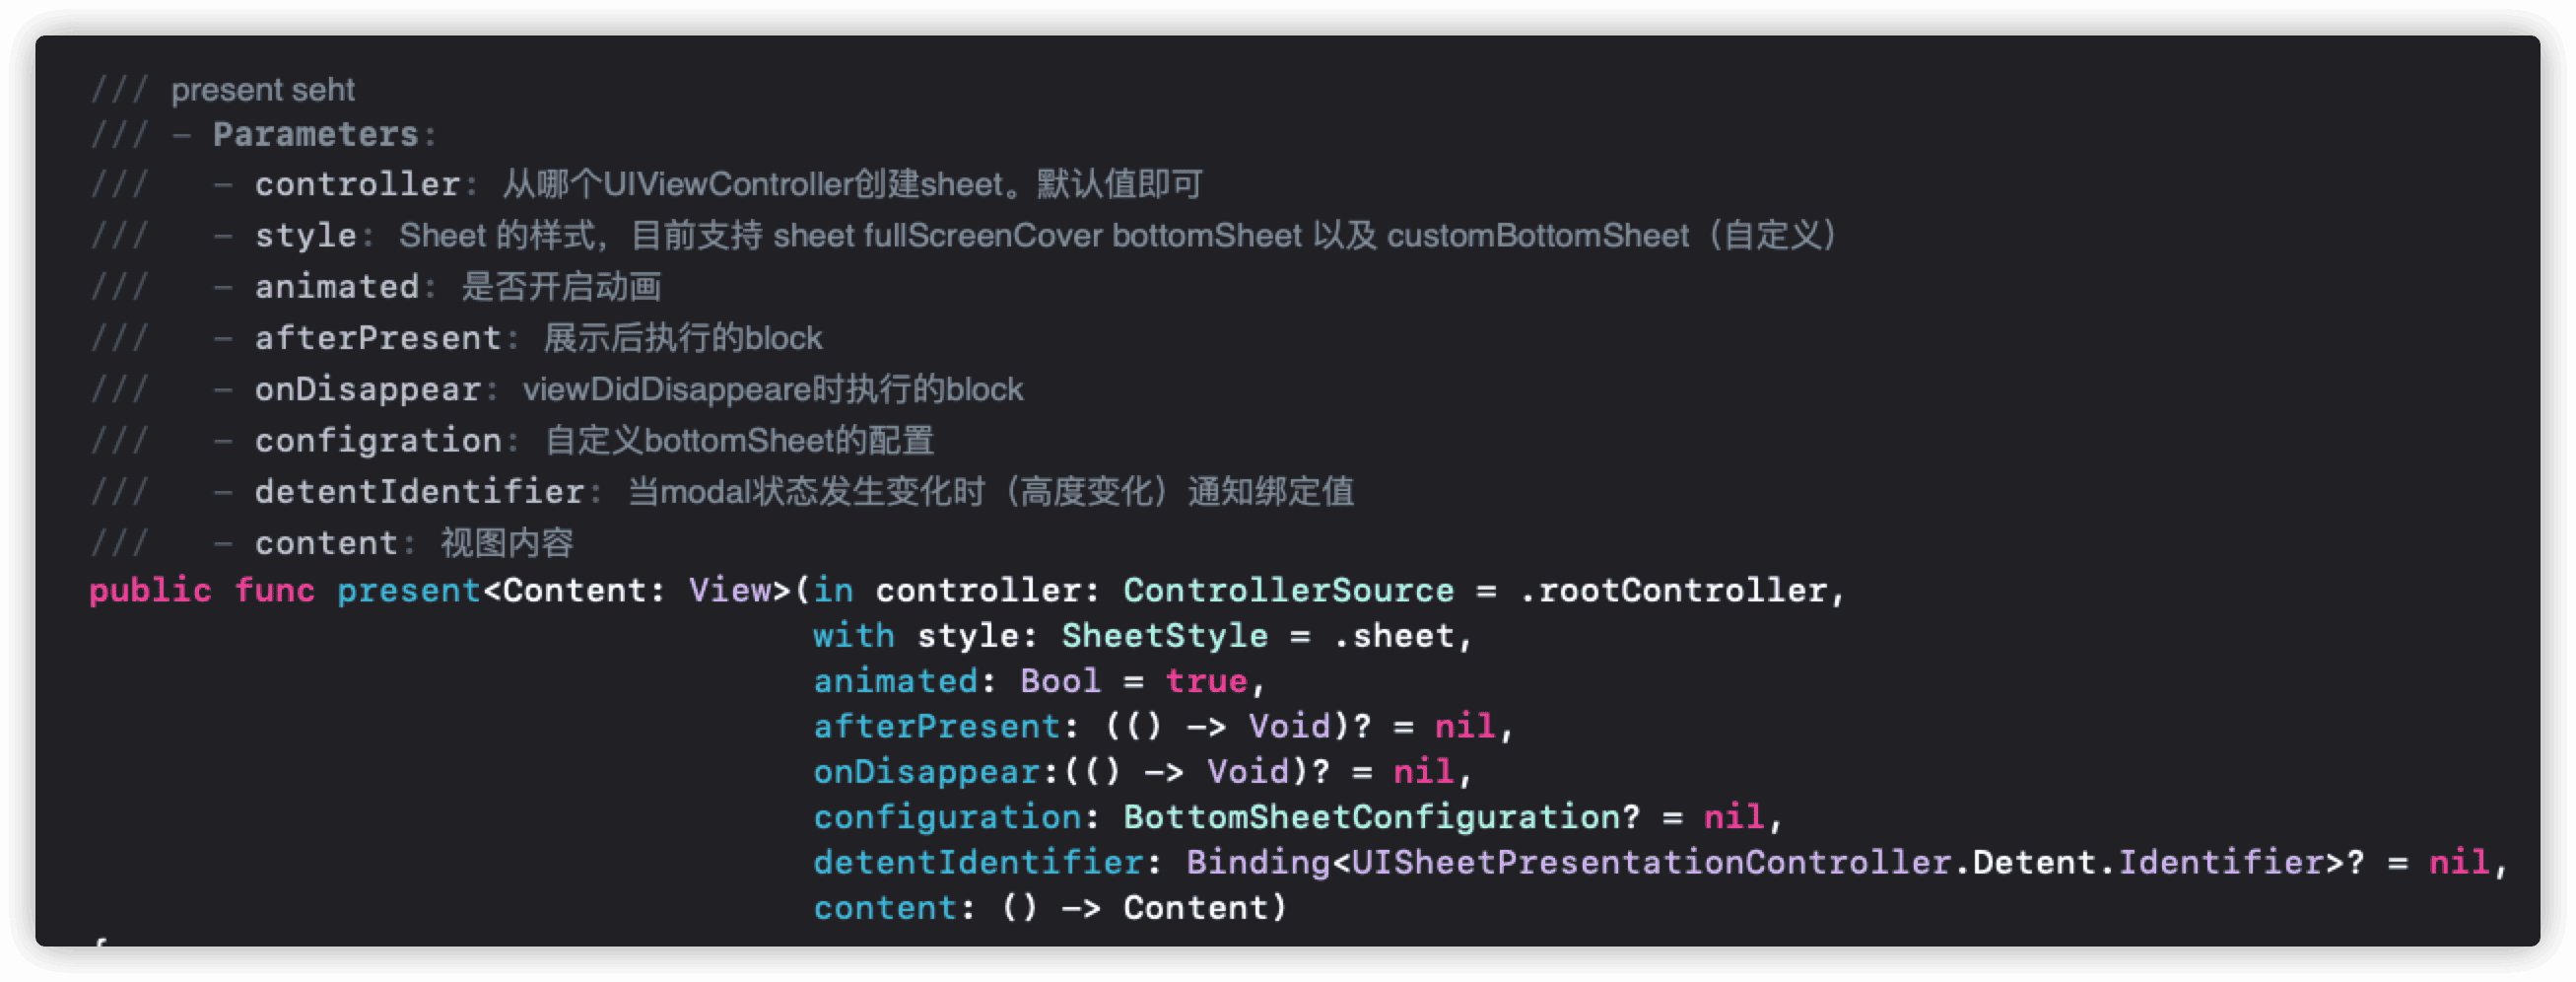
Using SheetKit in code is very easy. It supports two methods: using SheetKit’s instance directly or using the environment value in the view. For example, both of the following code snippets will display a standard Sheet:
Button("show sheet"){
   SheetKit().present{
     Text("Hello world")
   }
}
Or
@Environment(\.sheetKit) var sheetKit

Button("show sheet"){
   sheetKit.present{
     Text("Hello world")
   }
}
SheetKit supports multi-level Sheet presentations. The following code will display two layers of Sheets:
@Environment(\.sheetKit) var sheetKit

Button("show sheet"){
   sheetKit.present{
     Button("show full sheet"){
       sheetKit.present(with:.fullScreenCover){
         Text("Hello world")
       }
     }
   }
}
Animation
In SheetKit, the animations for both present and dismiss can be disabled (especially suitable for Deep link scenarios). Use the following statement to disable the show animation:
SheetKit().present(animated: false)Sheet Types
Currently, SheetKit supports three types of modal views: sheet, fullScreenCover, and bottomSheet.
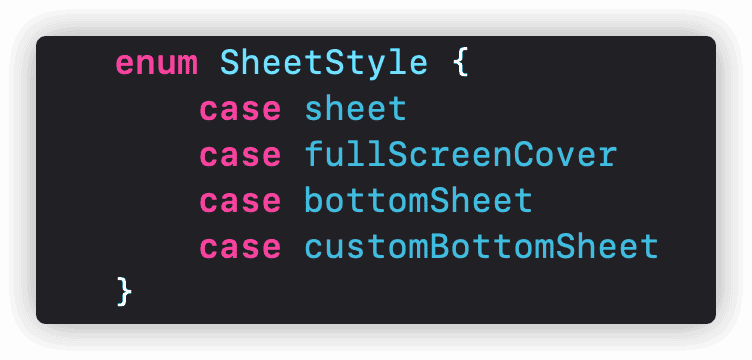
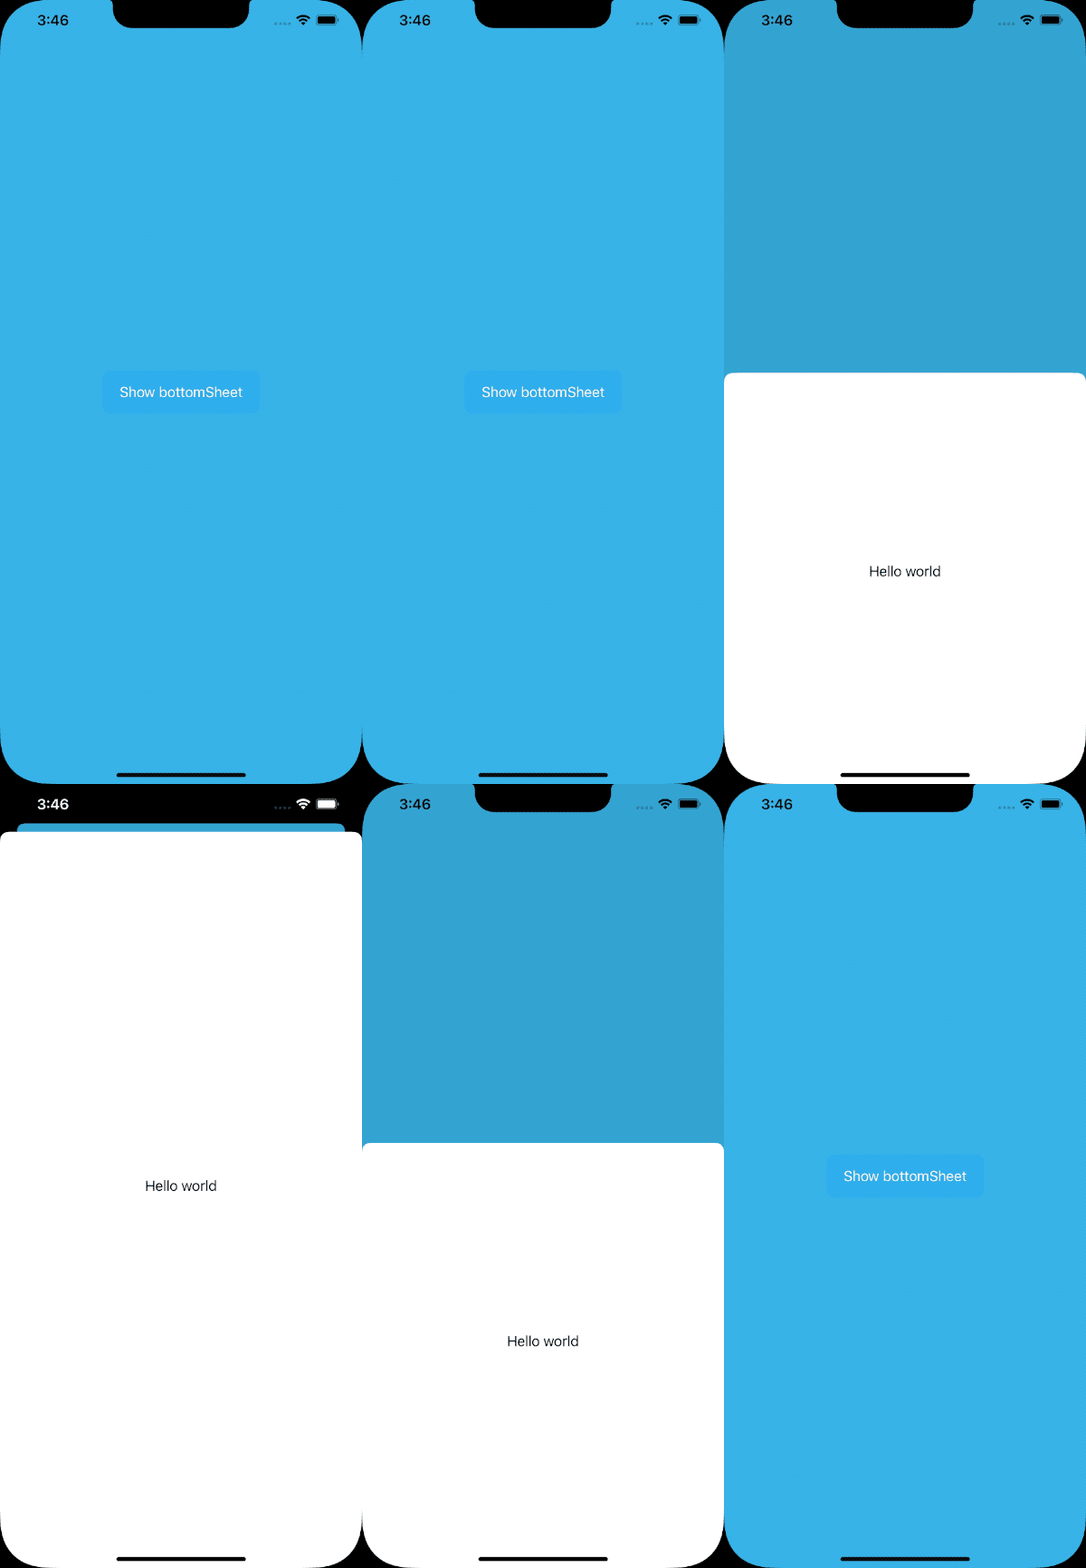
The following code will display a preset bottomSheet view:
sheetKit.present(with: .bottomSheet){
  Text("Hello world")
}
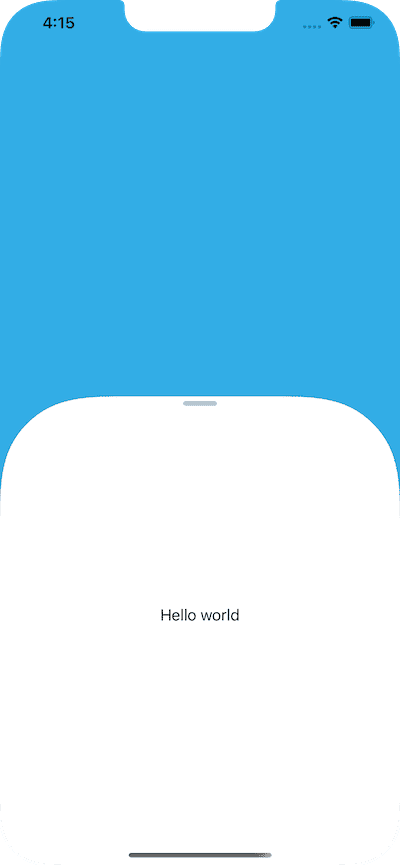
The bottomSheet can be customized.
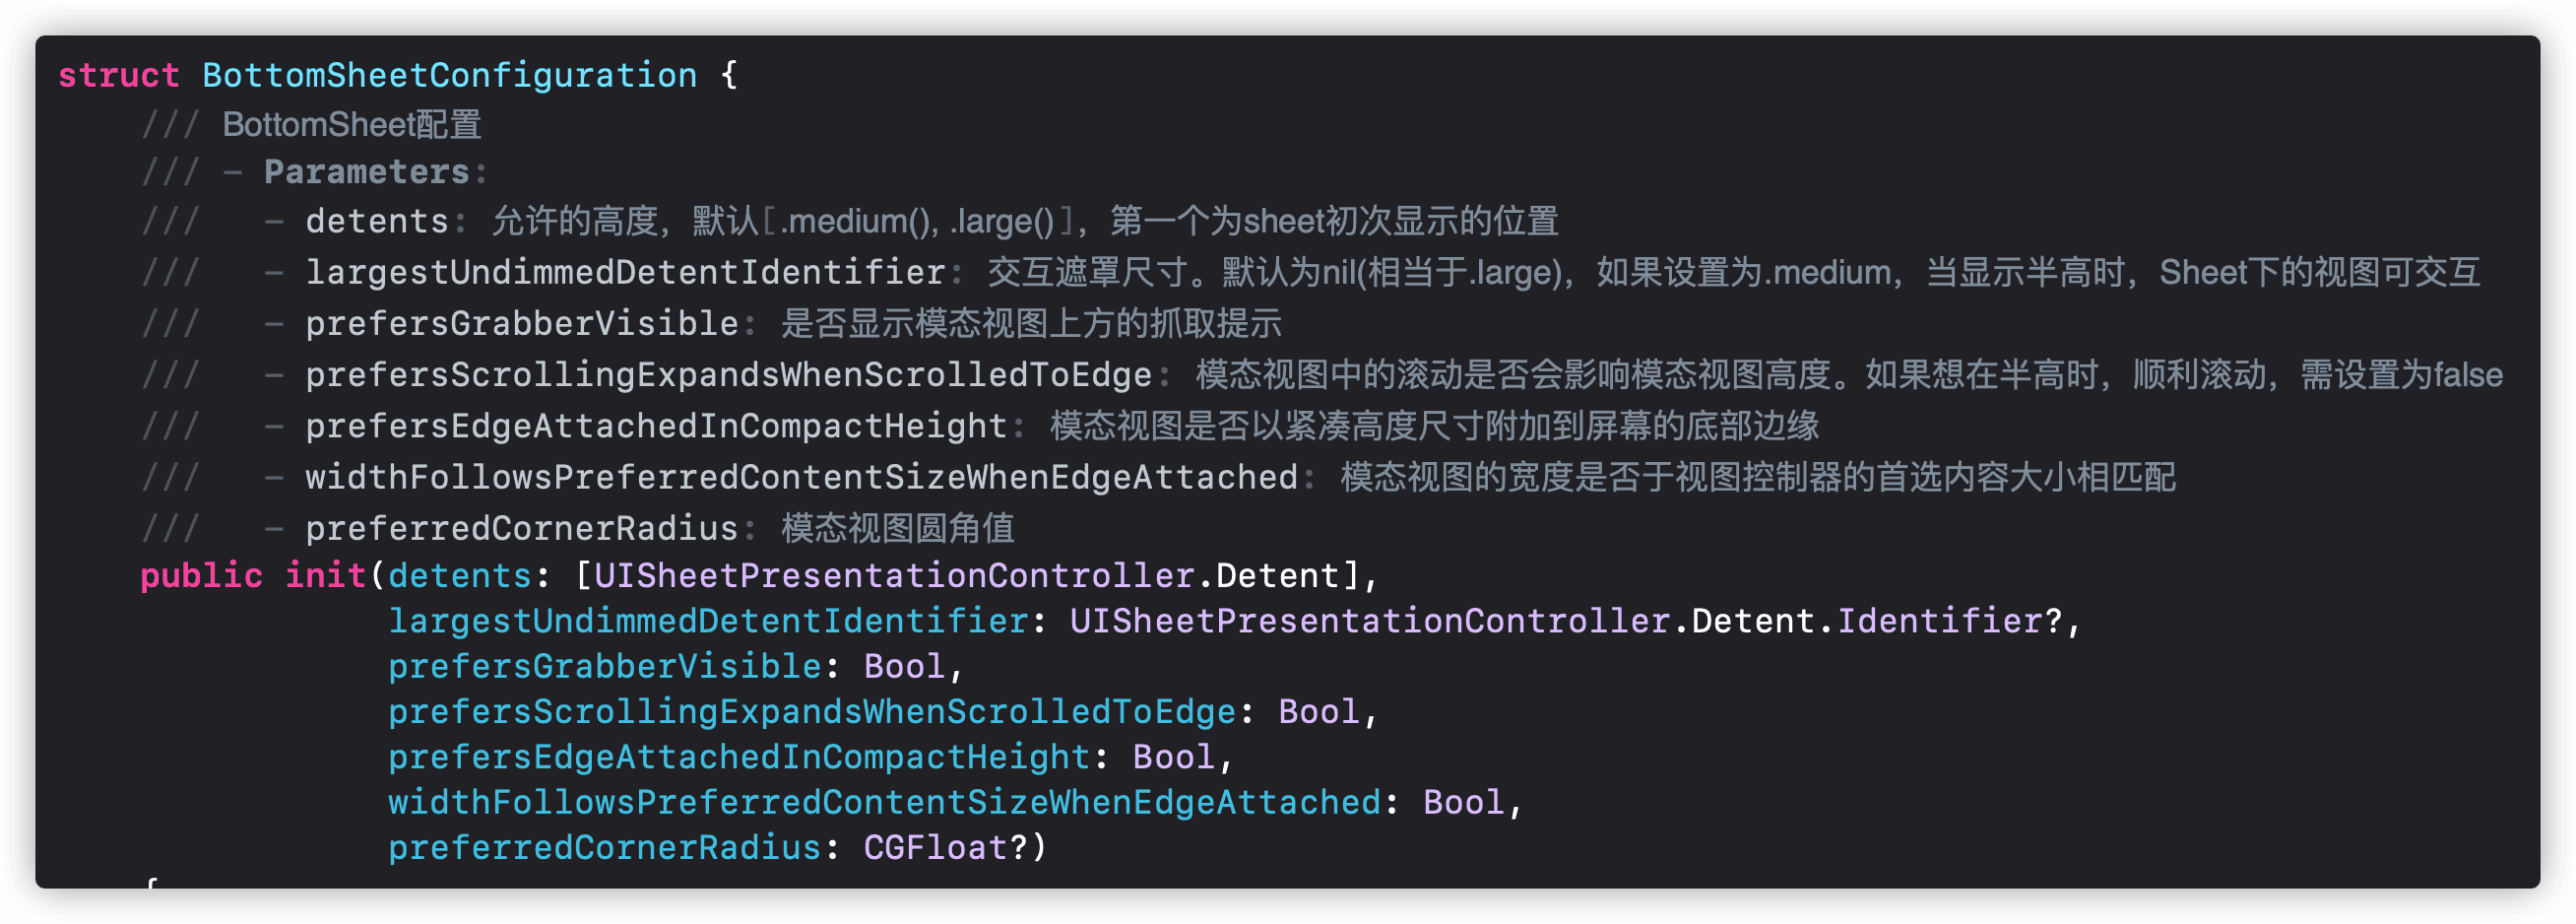
The following code will create a custom bottomSheet:
let configuration = SheetKit.BottomSheetConfiguration(  detents: [.medium(), .large()],
                                                        largestUndimmedDetentIdentifier: .medium,
                                                        prefersGrabberVisible: true,
                                                        prefersScrollingExpandsWhenScrolledToEdge: false,
                                                        prefersEdgeAttachedInCompactHeight: false,
                                                        widthFollowsPreferredContentSizeWhenEdgeAttached: true,
                                                        preferredCornerRadius: 100)

sheetKit.present(with: .customBottomSheet, configuration: configuration) {
  Text("Hello world")
}
Modal View Height Change Notification
When the bottomSheet changes height, there are two ways to get notified.
Method 1:
@State var detent: UISheetPresentationController.Detent.Identifier = .medium

Button("Show"){
  sheetKit.present(with: .bottomSheet, detentIdentifier: $detent){
    Text("Hello world")
  }
}
.onChange(of: detent){ value in
    print(value)
}
Method 2:
@State var publisher = NotificationCenter.default.publisher(for: .bottomSheetDetentIdentifierDidChanged, object: nil)

.onReceive(publisher){ notification in
       guard let obj = notification.object else {return}
       print(obj)
}
When using Method 2, if you need to display multiple layers of bottomSheet, please define different Notification Names for different levels of views.
dismissAllSheets

SheetKit supports quickly dismissing all currently displayed modal views (regardless of whether they were presented by SheetKit). Use the following code:
SheetKit().dismissAllSheets()Supports animation control and onDisappear:
    SheetKit().dismissAllSheets(animated: false, completion: {
        print("sheet has dismiss")
    })
dismiss
If you only want to dismiss the topmost modal view, you can use dismiss:
SheetKit().dismiss()Also supports animation control:
If you execute SheetKit methods outside of a view, make sure the code runs on the main thread. You can use forms like
DispatchQueue.main.asyncorMainActor.run, etc.
interactiveDismissDisabled
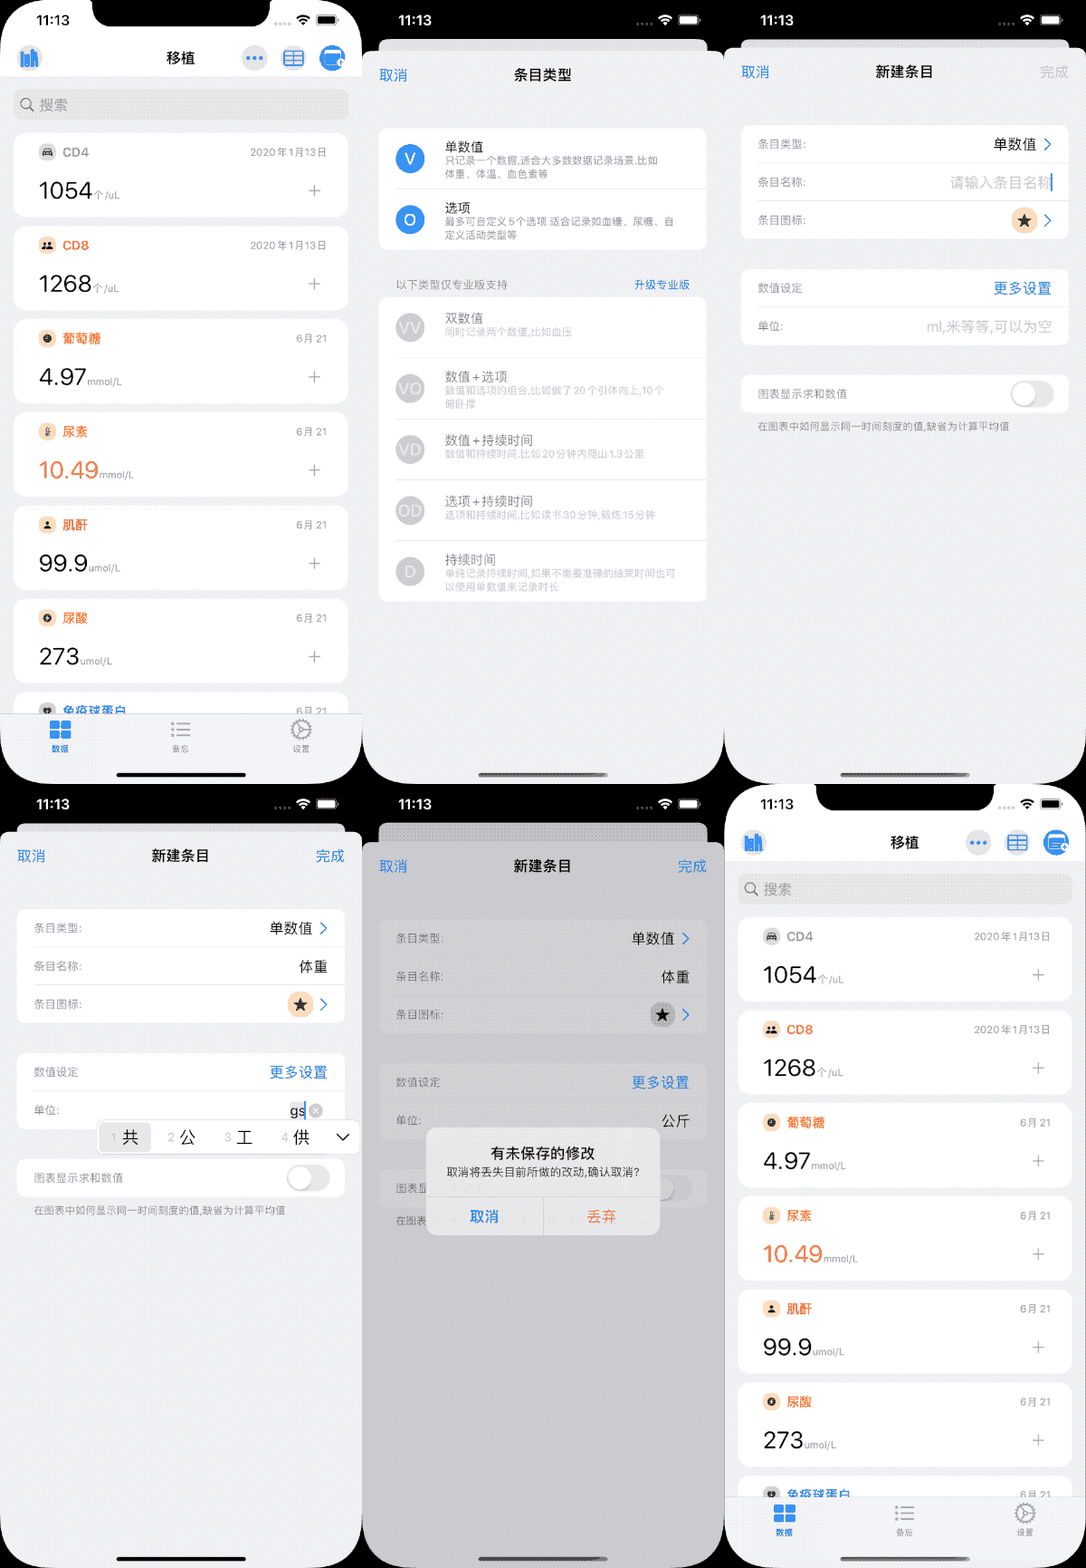
An enhanced version of SwiftUI 3.0’s interactiveDismissDisabled, this feature not only allows control over whether to permit gesture-based dismissal through code, but also provides notifications when the user attempts to dismiss using a gesture.
For more information, refer to How to implement interactiveDismissDisabled in SwiftUI.
The interactiveDismissDisabled in SheetKit has been modified for compatibility with bottomSheet. For specific changes, please refer to the source code.
struct ContentView: View {
    @State var sheet = false
    var body: some View {
        VStack {
            Button("show sheet") {
                sheet.toggle()
            }
        }
        .sheet(isPresented: $sheet) {
            SheetView()
        }
    }
}

struct SheetView: View {
    @State var disable = false
    @State var attempToDismiss = UUID()
    var body: some View {
        VStack {
            Button("disable: \(disable ? "true" : "false")") {
                disable.toggle()
            }
            .interactiveDismissDisabled(disable, attempToDismiss: $attempToDismiss)
        }
        .onChange(of: attempToDismiss) { _ in
            print("try to dismiss sheet")
        }
    }
}
clearBackground
Sets the modal view’s background to transparent. In SwiftUI 3.0, it’s already possible to create various frosted glass effects using native APIs. However, these effects only become visible when the background of the modal view is set to transparent.
In the modal view:
.clearBackground()For example:
        ZStack {
            Rectangle().fill(LinearGradient(colors: [.red, .green, .pink, .blue, .yellow, .cyan, .gray], startPoint: .topLeading, endPoint: .bottomTrailing))
            Button("Show bottomSheet") {
                sheetKit.present(with: .bottomSheet, afterPresent: { print("presented") }, onDisappear: { print("disappear") }, detentIdentifier: $detent) {
                    ZStack {
                        Rectangle()
                            .fill(.ultraThinMaterial)
                        VStack {
                            Text("Hello world")
                            Button("dismiss all") {
                                SheetKit().dismissAllSheets(animated: true, completion: {
                                    print("sheet has dismiss")
                                })
                            }
                        }
                    }
                    .clearBackground()
                    .ignoresSafeArea()
                }
            }
            .foregroundColor(.white)
            .buttonStyle(.bordered)
            .controlSize(.large)
            .tint(.green)
        }
        .ignoresSafeArea()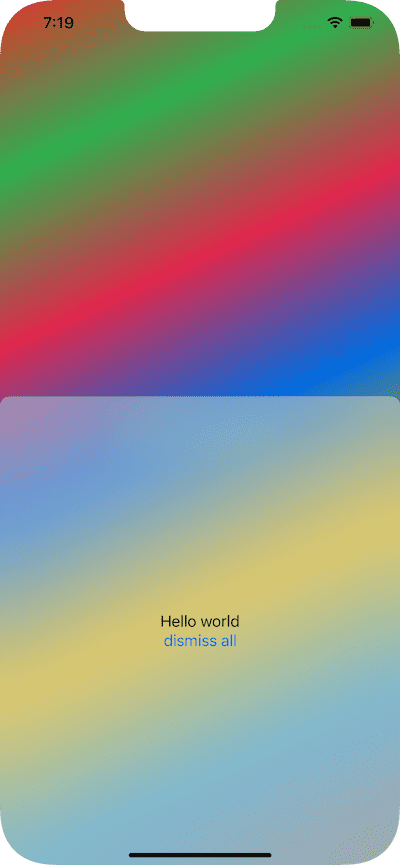
Conclusion
Both SheetKit and NavigationViewKit are libraries I developed for the new version of Health Notes. The functionalities are primarily based on my personal needs. If there are any other feature requests, please let me know through Twitter, blog comments, or Issues.